4.12 Working with administrative groups
You can set up your MyID system to allow administrative groups; these are extra groups for which an operator has administrative access.
You must set the Allow Administrative Groups option on the Process tab of the Security Settings workflow; see the Administrative groups section in the Administration Guide for details.
4.12.1 Selecting an administrative group
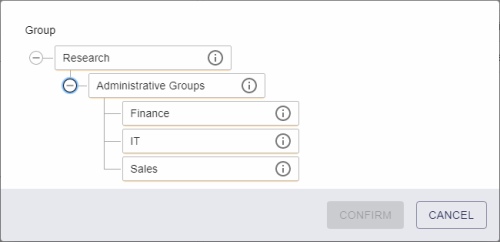
Any administrative groups you have available are displayed in the group selection dialog at the bottom of the list:
Expand the Administrative Groups option, select the administrative group you want to use, then click Confirm.
Note: If you are selecting a group as part of your search criteria, if the administrative group is linked to an OU in your directory, MyID searches that OU as well as any sub-OUs, even if those sub-OUs are not themselves mapped in MyID.
4.12.2 Assigning administrative groups
If your system is set up for administrative groups, you can assign administrative groups when you are editing a person.
To assign administrative groups:
-
On the Edit Person screen, click the Administrative Groups field.
A dialog appears listing any existing administrative groups, and allowing you to add new administrative groups.
-
To add a group:
-
Click the add icon next to Add additional administrative group.
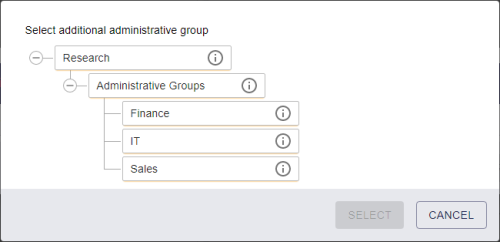
A dialog appears that allows you to select a group.
-
Select the group you want to add as an administrative group.
You can select any group for which you have scope, or any group for which you have administrative access.
-
Click SELECT.
The group is added to the list.
-
- To add more groups, click the add icon again.
-
To remove an administrative group, click the delete icon for the group.
Note: You can remove an administrative group only if you have permission to that group yourself; that is, it is within your scope, or in your own list of administrative groups.
-
When you have completed the list of administrative groups, click CONFIRM.
The list of groups is displayed in the Administrative Groups field.


